January 15, 2012

Autobiographical Comic Strips

Students in the 5th- 8th grades have been working on autobiographical comic strips over the past month or so.  We began by looking at the work of artist Heather McAdams. 


Based on the project Heather McAdams created for Spiral Workshop at UIC, Coonley students answered questions and selected a true story based on themes such as an animal encounter they exprienced, something they were afraid of, a moment of triumph, etc.


Next students learned about the word thumbnail sketch and panel, and they began laying out their story into panels (frames) and narration.    Some students wrote before drawing, and others drew the pictures first. Students continued to refine their ideas based on feedback from their peers and teacher, as they worked hard to communicate their story in pictures and words. 


Next, the students moved on to laying out their final panels on illustration board, leaving neat "gutters" (spaces) in between each panel.  They worked to make their drawings more detailed than the thumbnail sketches, and added backgrounds and more facial expressions to tell their story.  We talked about zooming in and out, and getting down to what is essential about each moment.   


Next up, students will learn to ink up their panels, using permanent marker, and building off of the skills they acquired when they practiced contour line drawing.  They will also learn how to shade (create different values) using only lines, and will apply that skill to some panels in their comic.


Next, students completed this worksheet to practice using lines to create value.  The more lines you gather together and the closer the lines are to each other, the darker the value (shade) appears to be. 


January 14, 2012

Collaging and Finishing Our Illustrations

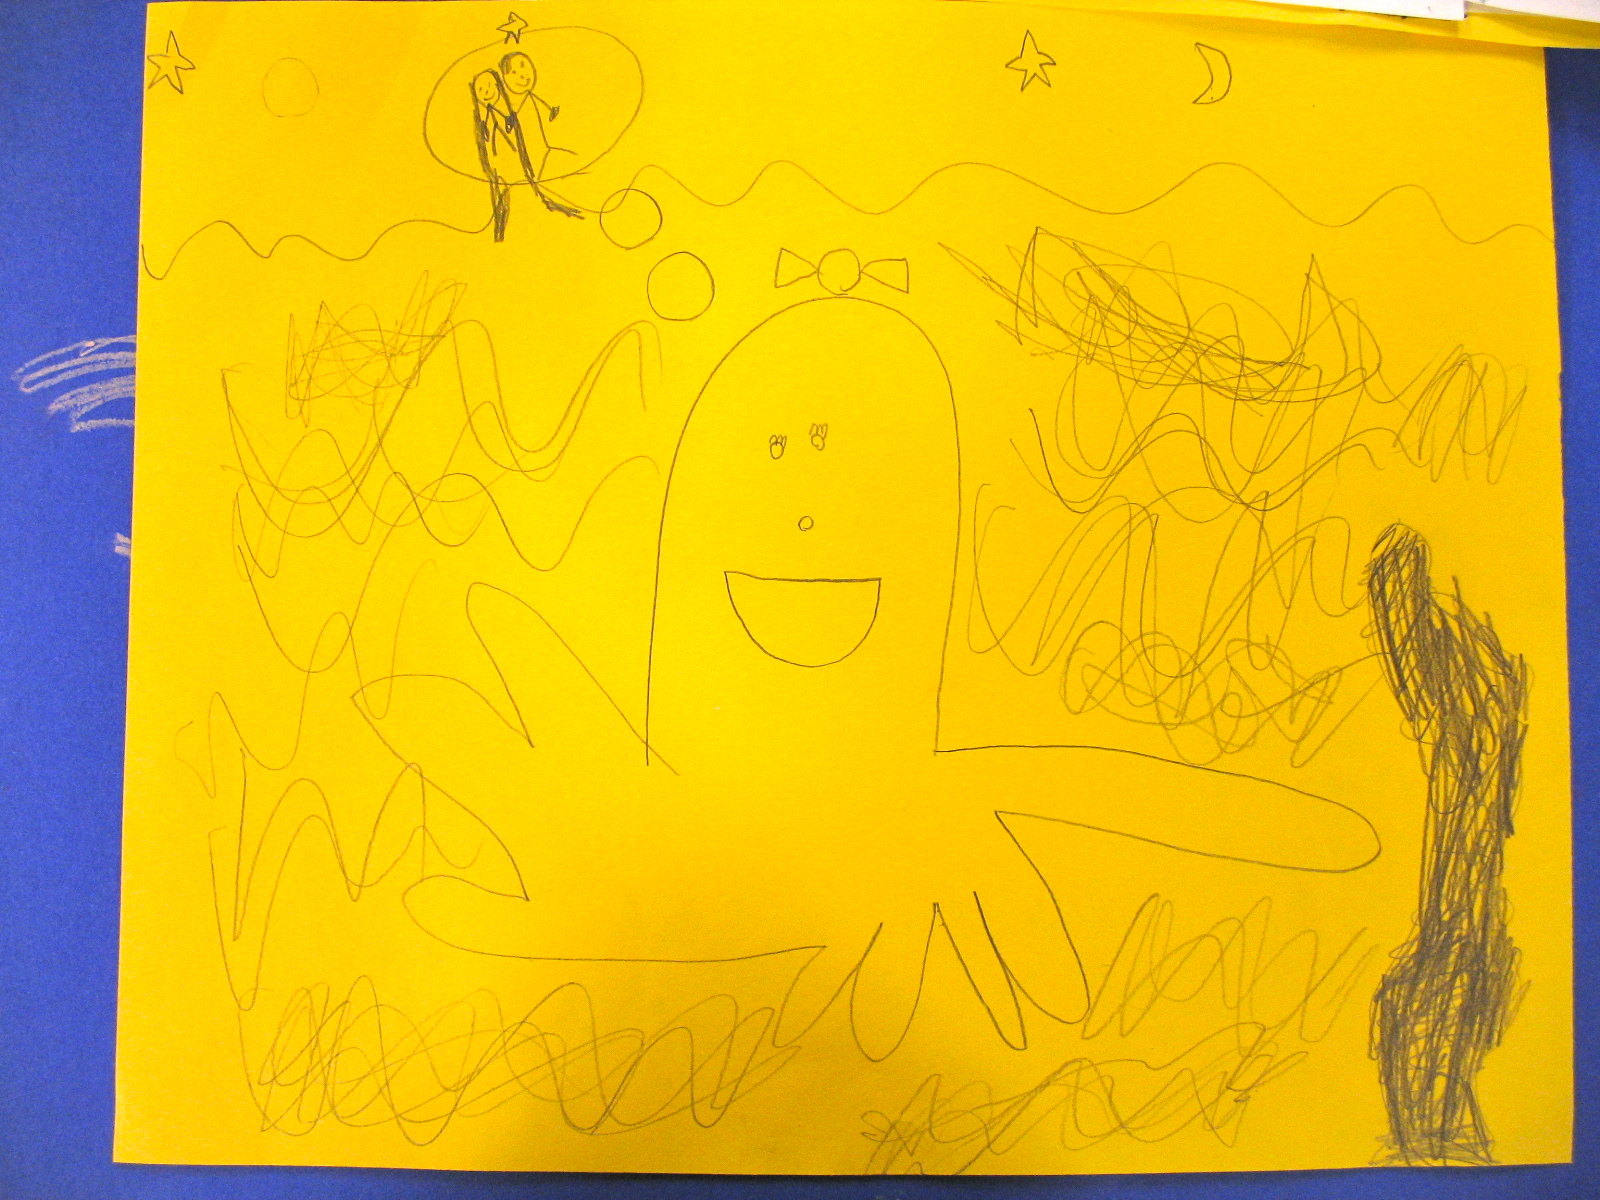
After kindergarteners, 1st and 2nd graders envisioned their ideas for their book illustrations, they drew their idea on a larger sheet of construction paper.  There were several tools I introduced to the students in order to help the them scale up their original drawings.   In some cases they looked for basic shapes, and in others they divided their sketch into four parts, and used a grid as their guide. 

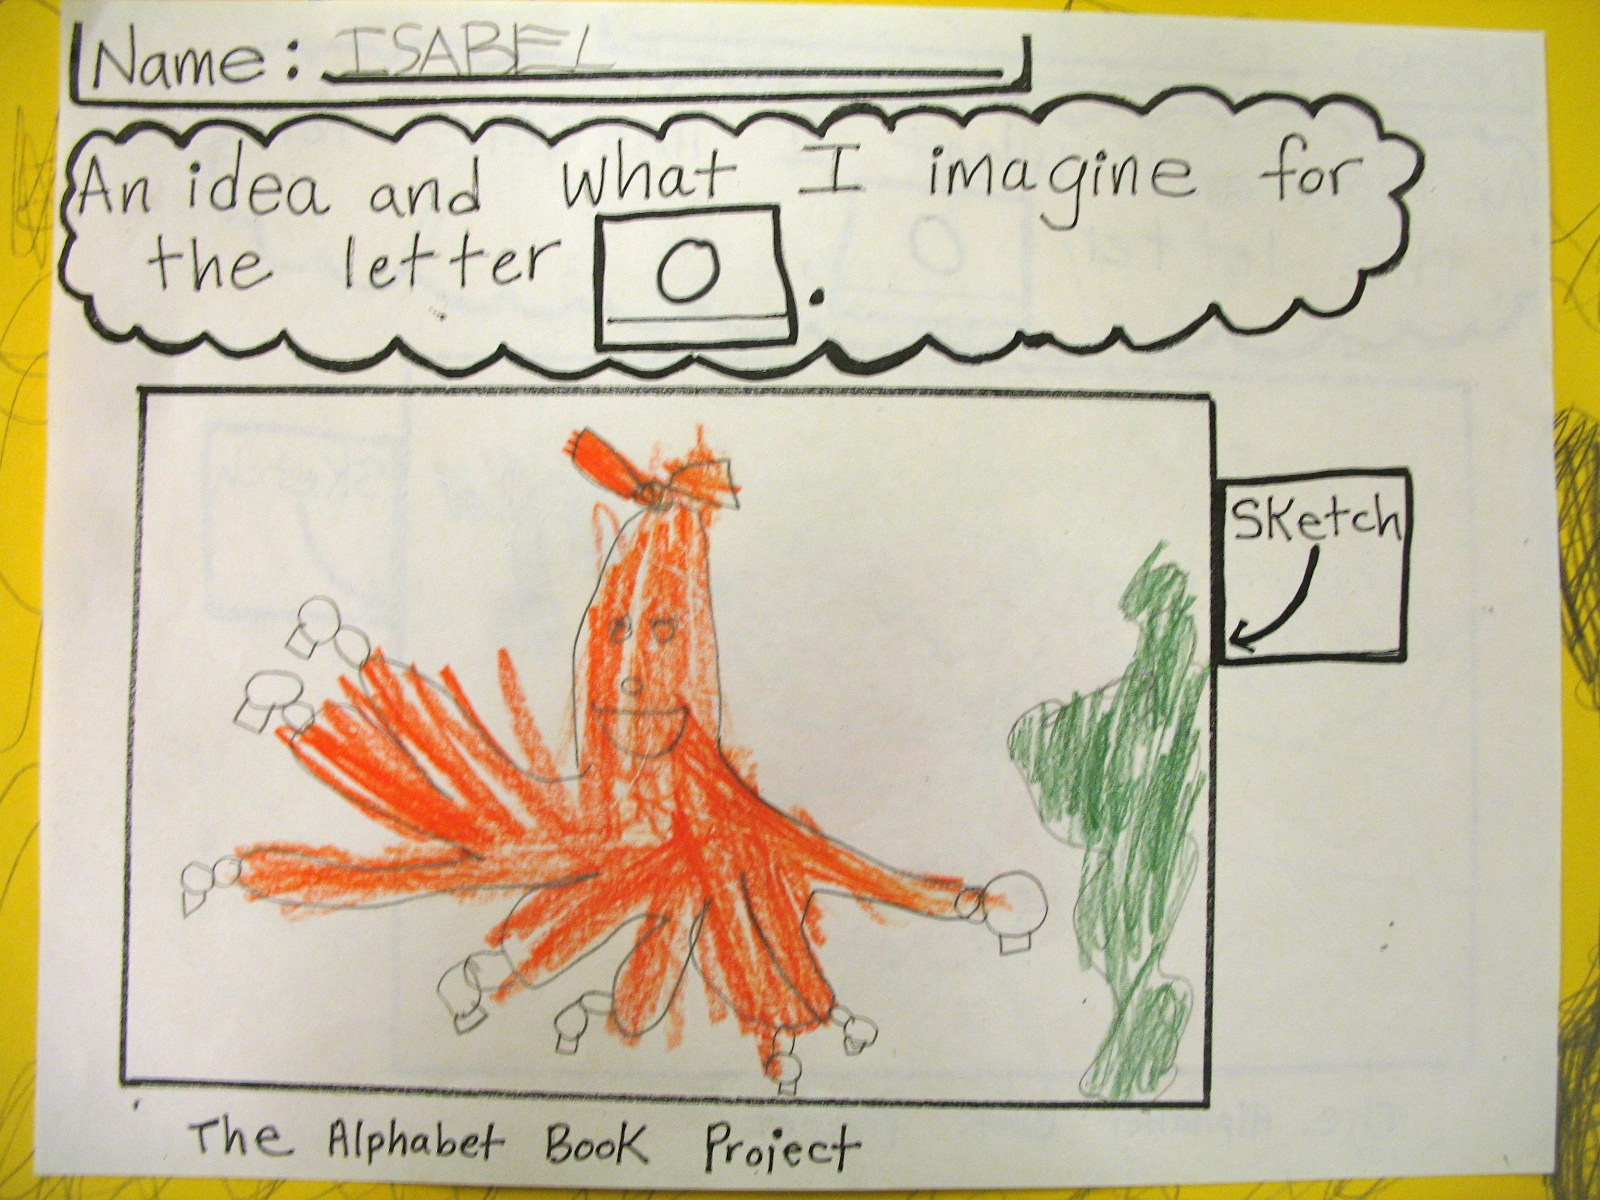
"O" is for Octopus


Next, students began looking for large shapes in their drawing, that they could cut out of paste paper and collage onto their illustration.  The students accessed the paste paper themselves, choosing the color and texture that helped them express their idea.  

"U" is for Umbrella


T is for Truck


This is an illustration for the verb "flying".

 Next, over the last two class sessions, students used black markers, oil pastels and colored pencils at several different stations in the art room, and added to their collage in order to complete their illustrations and fully express their ideas.  Students learned about the word "mixed media" to describe the use of multiple materials in one piece.


"F" is for foot!


"V" is for vampire!

December 18, 2011

Beginning the Verb Book Illustrations

2nd graders are also creating a book in the style of Eric Carle's illustrations.  However, instead of the alphabet, two of the 2nd grade classes were assigned verbs to illustrate, and another is illustrating places they have been or places they want to go.


They are engaging in the same processes as the 1st graders, only at a more advanced level and with higher expectations. Each student created two different idea sketches about the same verb, as part of their envisioning process.  The students then chose one of the two ideas to proceed with.

Creating Practice Shadow Puppets

Students in grades 3 and 4 learned about the mechanics of shadow puppets by creating a practice puppet using a template. 


They chose between a bird and a snake, and learned through the process that they needed to draw all the moving parts separately, and then fasten them together.  It took us two 40 minute periods to make these in class. We had just a few minutes to practice with them in front of a shadow screen made out of a bed sheet. Those last few minutes of practice time were very fulfilling.


We made the puppets out of cereal boxes to save on resources and so that students would understand that they can make  puppet at home.

Beginning Our Alphabet Book Illustrations

We are currently studying different forms of Narrative Art across every grade level at Coonley.  
A few weeks ago (it has been a while since I have posted!), Kindergarteners and 1st graders began a project where each of them is illustrating a page in an alphabet book in the style of the illustrator Eric Carle. 


To begin the process, we looked at an illustration together that was projected on the wall.  The students shared their ideas about what alphabet letter was being illustrated by the image. Some suggestions were "P is for paper", "W is for women", "F is for letters flying all around".

This is the image we looked at together that was made by Brian Collier. 


Next, students were each assigned an alphabet letter, and they drew a picture for something that started with that letter.   There are so many fantastic drawings that came out of this envisioning session.

N is for Nightingales in a Nest

On the right you can see where Amaan and I brainstormed some "J" words together. 


 Next, students were given a large sheet of paper, and we talked about how they needed to draw their original sketch larger on the paper, so that the shapes in the drawing would be large enough for us to try and cut.  There were several different processes that Ms. Chisholm tried, in order to help the children draw larger than they were used to.  It was definitely a difficult concept for such young children.  Overall however, students did an amazing job drawing their original idea on a larger scale. 


November 10, 2011

Crazy Talk Portraits and Facial Proportions

Ms. Wiltse, the librarian at Coonley of course, approached me with a collaboration where 4th graders create a self portrait for a book review on Crazy Talk. 
 
Even though I like the portraits Ms. Wiltse showed me, and the more child-like approach to drawing a face, I also know that 4th grade is around the time that kids start craving the ability to draw more realistically. 
So I thought I would use the collaboration as an opportunity for me to teach the 4th grade students about the proportions of the human face.  I knew the faces would not look at whimsical in the end, but my hope is that the students will achieve a little bit of a likeness to themselves.


Before we even got started, I asked students to draw an oval, and add the eyes, nose and mouth where they thought they belonged on the face.  Most of the pre-assessments looked like the ones below.  I used these drawings as an introduction to common misconceptions and mistakes that occur when drawing the face. One example is the eyes being too high on the face since we forget that we have such a giant cranium for our huge brains!


Next, after taking and printing their photos, over the course of two days, students followed me step by step as we drew lines for the general proportions of the human head. 


 We then talked about where to place and how to draw the general shapes for the eyes, nose and mouth.  


 Although this was a brief encounter with realistic drawing, my hope is that students will continue to practice drawing faces, and that they may do a few things differently now that they have had this experience. 


4th grade students will be continuing these portraits with Ms. Wiltse in the library, making them look even more like them instead of a general person, and adding color using colored pencils. 
We will return to drawing realistically later in the year.

It is always validating when students practice things from the art room on their own, as exhibited in this notebook drawing by Kayla.  Way to go Kayla. 


In this project, students developed the craft of learning how to draw a realistic human face. They also focused on closely observing their own features with the intent to record them on the page.

November 6, 2011

Paste Paper!

Students in grades K-2 recently learned about the word texture in art room as they looked at work by the collage artist and illustrator Eric Carle.  


As a beginning to a longer project where students are illustrating a book using collage, each student experimented with making and imitating textures in paint.  

First we discussed the word texture and how it means the way something feels, and then we talked about how artists often try and mimic or show the way something feels by how they use their materials.


Students first applied the paint to their paper with a large brush, and then dragged things through the paint like combs, forks, pencils, and sponges.  By doing so, they got some interesting results.   


The colored paste is made from 50% paper mache' glue and 50% acrylic paint.


 This is a similar process to how Eric Carle produces his own collage papers that he then cuts up for his famous illustrations.


It sure was a challenge and a rush to put our smocks on, make two different textures on two pieces of paper and then wash everyone's hands, but we pulled it off.   Students in grades K-2 will be using these paste papers within their collage illustrations that will be coming soon...